Showing posts with label Facade. Show all posts

December 02, 2014

Renovating an external wall - correcting an error of our previous renovation

Renovation reloaded (November 2014)

We are renovating again an external wall, that was beautiful restored during our previous main renovation six years ago in November 2008. See my post about how to renovate the side facade here. It included a voting by readers, and the result is presented here.

It turned out, the decision we made back then was an error, as the bare stone wall was deteriorating over time and soaked in all rain water in some particular areas. With the result of having humidity spots on the inside which dried out during summer, but let the plaster and paint on the inside constantly come off the walls. That was not a problem in the guest residence as the residence has a different surface on the outside walls, but in our living room on the ground floor, and in the master bath and guest room upstairs.

deteriorating stone wall (July 2014)

The picture (above) was taken during the procession of La Madonna del Carmine in July 2014 and shows at least one of the crucial areas.

Why did we wait so long for the correction?

First it was not clear where the water infiltrated. It looked more like a leak on the roof terrace and on one balcony. But then it became more and more visible from the outside.

Second, we lost many months and weeks thanks to our reluctant neighbor who had to give access to our wall.


after applying impregnation paint, foam is added for further insulation

fixing the foam to the wall with these blue pins
foam fixed

The new method of renovating this external wall: applying an impregnation paint on the stone wall. After that a 4 cm thick insulating foam was fixed on the wall (with blue pins, see above). And at the end, a finishing of colored plaster comes on top.


a glimpse of the new look (December 2014)

A large portion of our first year's vacation rental earnings will go into that wall.... But that is the purpose of renting out our guest residence. The income should help to maintain and improve the residence and to pay the running cost of the house. Hopefully, we won't have this kind of major spending on renovation again any time soon, and will be able to build up some reserve funds. Our project remains a project ... but a wonderful one.

See below the side façade over the years. And now, just in time before some rainy days, we finished the insolation and plaster work.


house in 2006 before renovation project started

after renovation in November / December 2008

after 2nd renovation December 2014


April 10, 2011

Top 10 Impressions from the Renovation Work

In the last five days I have taken many pictures from the house and the work progress. Every day, I am on site measuring, looking into details, unpacking, helping whatever I can do. Yesterday, while showing friends around, I realized that I have some new favorite spots that I want to show you too:

My first favorite spot is the small sunny piazza infront of the house.
Here, at the main entrance three generations of (future) inhabitants are posing happily.

Angelo's art work at entrance #37

more stucco and paint art work on ceilings

my favorite bathroom in the vaulted cellar

February 28, 2011

Facade: before & after picture update

It is February, the sun is shining and the oranges are growing in neighbour's garden. Below it is our palazzo that stands together with this picturesque church at a small piazza with no name in the historic center of Pizzo.

view of Palazzo Pizzo, chiesa del Carmine and the bay with beaches of Pizzo

Now, below, this is an old picture of February 2008, when we just started the renovation and restoration. The old windows have been taken out already, the old doors are still in and we had some sample of coloured plaster painted on the facade. The roof is not tiled yet. The walls of the facade show cracks and damages. However, I love this picture. It shows a charming old house and a calm sea with sunshine. Oranges are growing in the neighbours garden and the church makes it even more peaceful. This picture is my screen saver since three years.

BEFORE: our house in February 2008

But Angelo complaint. After all the work he had supervised and done, I could update my screen saver, he said. So, I asked him to send me an update, same perspective please - and that's what I got:

AFTER: our house in February 2011

New plaster, new colour, new roof tiles, walls for window frames repaired and new windows mounted, new window sills, new entrance doors, new  zoccolatura (skirting board), new iron grids for ground floor windows, new roof rail and rain gutter,  restoration of "fake" stucco windows, re-painted balcony rails, new bell and name plate, installation of a second street lamp from the commune, dismounting of a flood lamp (for the church), rewiring for the lamps  .... - I think, this is it. For the exterior. But one old thing we reuse: the former green metal letter box plate.
 
 
You might also like these Before & After posts:
 
 
See all renovation posts BEFORE and AFTER.


Photo source:  photo nr. 2 was taken from a window of an apartment in a neighbouring house that was under renovation three years ago. But since this apartment now belongs to a foreigner who was not in Pizzo, Angelo had to climb on top of the roof to get a similar perspective. Mille Grazie ! 

January 20, 2011

The tiny overhanging bath or former outhouse needs the perfect sink

Can anyone tell me how they called these overhanging shithouses people used to have in the medieval times in European cities ? (and elsewhere ?) I do not even know the Italian expression for these tiny outhouse loos.

Anyway, we have one! And it is going to be our son's bathroom.
In my previous post I gave a sneak peek into the ongoing renovation. It is another green bathroom. We have ordered all appliances, except the sink. Advise is welcome!

But look and read from the start:

front facade of the house with the overhanging former outhouse on the right

 
a closer look at a BEFORE photo (we came a long way!)

above drawing by the architect shows the former privy on the right

the layout says the WC is 1,90 m x 1,40 m


above and below is the BEFORE bath,
there were a WC (left corner), a bidet and a sink


we took out everything (please note the "big" window)


with the help of an AFTER pic (note the former big and now shrinked window!)
I made some tiles planning


And finally, see and enjoy what Angelo made out of my amateurish drawings :

July 29, 2010

blue mission

Blue ringhiere look good everywhere.
On the seaside from top to semiinterrato.

(for details click on pic to enlarge)

blue balustrade of the balcony on the ground floor

Only the balustrade around our tiny garden is not yet blue.
But then, after that: blue mission completed.

UPDATE:
I forgot to post these pictures:

Angelo sent me this one, with no comment, and at first sight I did not really understood what this line near the ceiling that looks like a shadow would be... is it a blue stipe ??!

 
In the next picture I saw it clearly :
Angelo must have got crazy about blue !
I think he had some left over blue paint and obviously thought a bit of blue will add an interesting note to our bedroom. So funny.

June 18, 2010

no title


a "still lifes" photo by Angelo

This is Angelo's bike in front of our main entrance door. Apparently he drive his bike every morning from Vibo Marina to Pizzo, about 4 km along the coast (is the coastal road open again?). The above photo he sent to me with the message that the door is almost finished. The only thing that is missing are the borchie ("deco nails") for the lower part.

April 02, 2010

What we did today

Pizzo weather today:
20 degrees Celsius (in the shadow), calm sea, Stromboli view

This was a beautiful moment:
Seeing our son playing with his friend from the neighbourhood - on our terrace for the first time - it felt like we finally live here ! Although it is not the case yet. So, while kids were playing, others were working...

Inside CC was grinding the beams (travi) to prepare them for the paint job

I was making sure to order the right quantity - and the right size of tiles (6,5 cm x 25 cm) by drawing the pattern with crayons on the wall (I opted against 12,5 cm x 25 cm, which looked too much like bricks).
And : I decided on the hight: 1,20 on the wall with the sink and max. 1,30 on the wall with the toilet flush push botton. (for internal use: 6,45 m2, Ricordi, bianco Capri, finitura lucida, d'Agostino)

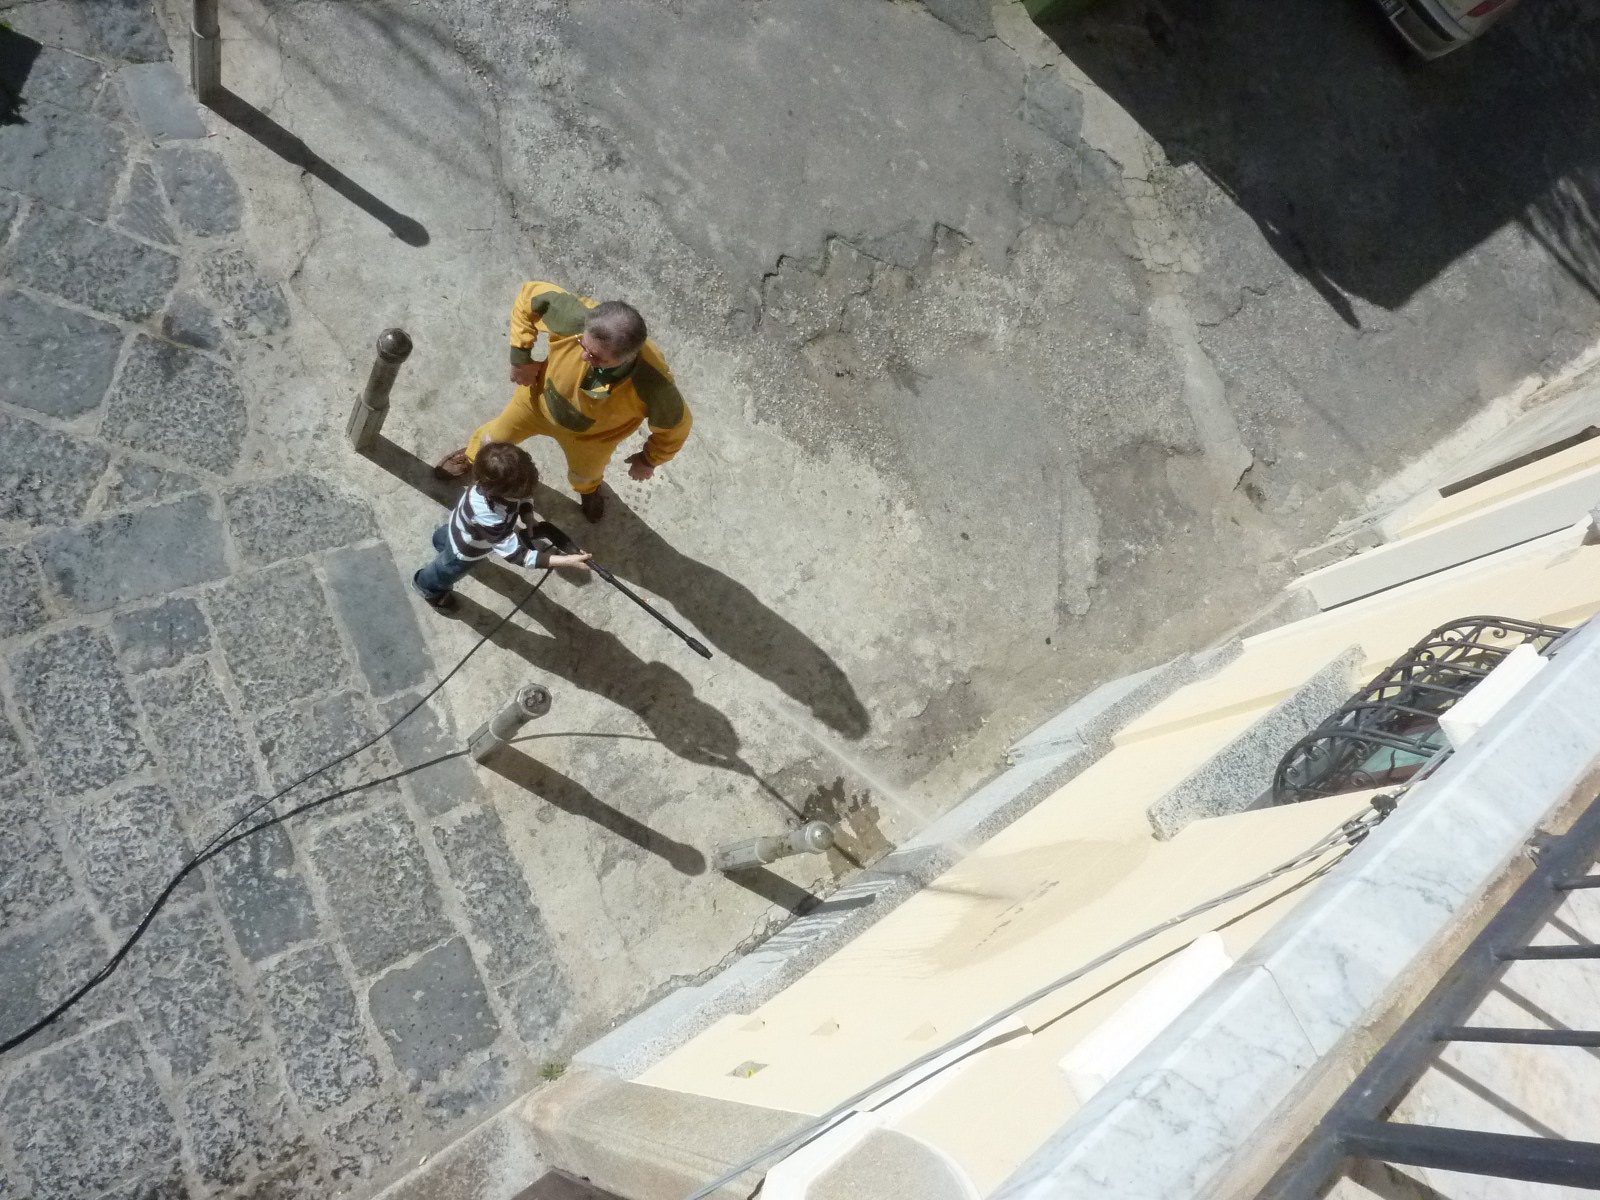
Outside, others tried to clean the facade from some spots with a high-pressure cleaner.

Some minor kids scribbles were scratched away and Angelo wanted to repair it with colored plaster

Angelo at work.

I discovered that this time a I have a wide angle camera to shot the entire house in one picture ! And while making more pictures I scented some lovely fresh and sweet fragrance in the air....

 
... I looked up and saw this orange in neighbours garden right above me. The flower of the orange tree does not only look like Jasmine it also scented similar to Jasmine. What a lovely surprise this morning !

More oranges in neighbour's garden

See, while others were working I was taking pictures.

In the afternoon, we drove to Vibo to place the orders for the first bathroom - finally. And when arriving in the shop, CC stumbled over a Bisazza mosaic sample - that we added to our order spontanously (just to have some colour over the sink) - and CC almost ordered a tourquis colour because he liked the first picture in my flickr set (see last post) that much ! (I sent him the link last night) I am pretty lucky with CC's taste !

February 11, 2010

Stairway : luster

Remember the discussion in my last post about where to hang the old and the new luster ? The old small lamp that we got with the house should hang again - like shown in the photo below - in our small entrance.


For the new luster I got a new idea ... please follow me upstairs :


Yes, just some more steps and we arrive at the primo piano, the 1st floor (BE) or 2nd floor (AE), where the space opens up a bit :


Here (above) you see some people happily together discovering the house (in August 2006), me on the left with our son.


And here we could hang the new luster.


The actual lighting would be replaced and the new luster could have a better effect here than downstairs at the piano terra, ground floor (BE) or 1st floor (AE). 

But how does this new lamp look like that my parents-in-law got from a fleamarket in the Veneto region ? I have only very poor photos, sorry, my mistake, did not set the right modus for the camera. So two blur pics :


It does look a bit better in reality.

To show from the outside of the house the two different areas of the stairways where we could hang the old and the new luster, I have prepared this photo :


Although the main door seems impressive, the main entrance really is a small area. The stairs starts almost right away. But upstairs the stairway widens up and leads to three spacious rooms and to small stairs that leads to the mansard and roof terrace.

As you are here to see the progress of our Italian renovation project, (me too BTW !) I will post before and after pics of the balcony of the stairways and the facade of the primo piano :

BEFORE

AFTER